General Electric (GE) clothes washers are renowned for their durability and efficiency. This guide provides a comprehensive overview of repair procedures, ensuring optimal performance and longevity of your appliance.
1.1 Overview of General Electric Washers
General Electric (GE) offers a wide range of clothes washers, including top-load and front-load models, known for their reliability and advanced features. These washers are designed to provide efficient cleaning while minimizing energy and water usage. With options like smart technology integration and various cycle settings, GE washers cater to diverse household needs. Their durable construction and user-friendly interfaces make them a popular choice for many consumers. Understanding the specific features and functionalities of your GE washer model is essential for effective maintenance and repair, ensuring optimal performance and extending the appliance’s lifespan.
1.2 Importance of Regular Maintenance
Regular maintenance is crucial for ensuring the optimal performance and longevity of your General Electric clothes washer. By addressing minor issues early, you can prevent costly repairs and extend the lifespan of the appliance. Maintenance also improves energy efficiency, reduces operational noise, and ensures cleaner laundry. Neglecting routine upkeep can lead to breakdowns, higher utility bills, and premature wear of components. Simple tasks like cleaning filters, checking hoses, and balancing the washer can make a significant difference. Consistent care not only preserves your investment but also guarantees reliable operation for years to come.
1.3 Safety Precautions Before Starting Repair
Before initiating any repair on your General Electric clothes washer, ensure your safety by following essential precautions. Always disconnect the power supply to avoid electrical shocks or injuries. Turn off the water supply valves to prevent water leakage or flooding. Wear protective gear, such as gloves and safety glasses, to shield yourself from sharp edges or debris. Never attempt repairs while the washer is in operation or under load. Familiarize yourself with the appliance’s manual and safety guidelines. If unsure about any procedure, consider consulting a professional technician to ensure safe and effective repairs.

Understanding the General Electric Washer Repair Manual
The GE Washer Repair Manual is a detailed guide offering diagnostic tools, repair procedures, and troubleshooting tips to help users maintain and fix their appliances effectively.
2.1 Components of the Repair Manual
The General Electric clothes washer repair manual includes essential components such as troubleshooting guides, detailed diagrams, and step-by-step repair instructions. It also features error code explanations, parts lists, and safety guidelines to ensure safe and effective repairs. Additionally, the manual provides maintenance schedules and tips for optimizing washer performance. These components work together to empower users with the knowledge and tools needed to address common issues and maintain their appliance efficiently. The manual is designed to be user-friendly, catering to both novice and experienced individuals. Regular updates ensure relevance and accuracy in addressing various model-specific needs.
2.2 How to Read Error Codes
Reading error codes on your General Electric clothes washer is crucial for diagnosing issues. Error codes typically appear as a combination of letters and numbers on the display. Start by identifying the code displayed, then refer to the repair manual for its specific meaning. Codes like “E1” or “EH” indicate particular problems, such as sensor malfunctions or water level issues. The manual provides a detailed list of codes and their corresponding solutions. Once you understand the code, follow the recommended troubleshooting steps or repair procedures. If unsure, consult a professional to avoid further damage. Always prioritize safety when addressing error codes.
2.3 Essential Tools for Repair
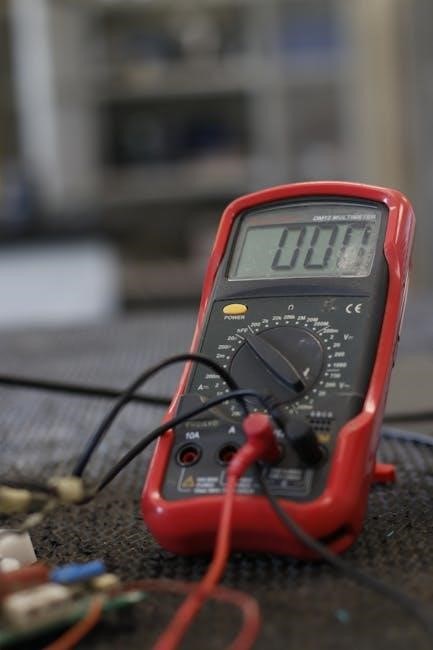
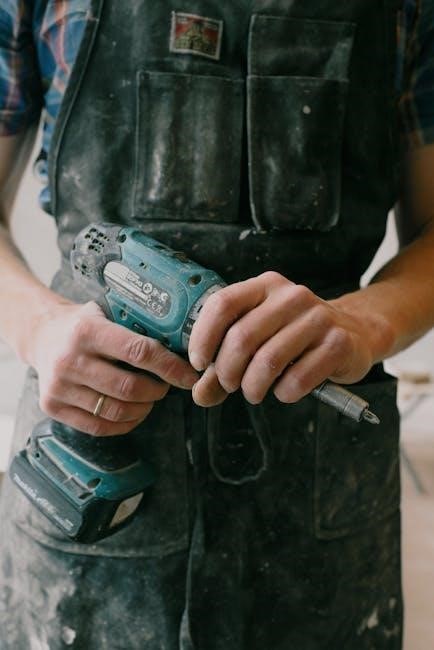
To effectively repair your General Electric clothes washer, gather the necessary tools. A Phillips screwdriver and flathead screwdriver are essential for removing panels. Adjustable pliers and wrenches help with hoses and fittings. A multimeter is useful for diagnosing electrical issues. A drain pan is handy for catching water during repairs. Safety gloves and goggles protect you from sharp edges and debris. Additional tools like a torque wrench and socket set may be needed for specific models. Always refer to the repair manual for model-specific requirements. Having these tools ready ensures a smoother and safer repair process.
Diagnostics and Troubleshooting
Diagnostics and troubleshooting are crucial for identifying and resolving issues with your General Electric clothes washer. Start by understanding error codes and performing a systematic inspection.
3.1 Common Issues and Symptoms
Common issues with General Electric clothes washers include uneven washing, excessive noise, and water leakage. Symptoms like unbalanced loads or faulty sensors can signal deeper problems. Identifying these early prevents further damage and ensures efficient repairs, maintaining your washer’s performance and longevity. Regular checks and addressing symptoms promptly are essential for optimal functionality and extending the appliance’s lifespan.
3.2 Step-by-Step Diagnostic Process
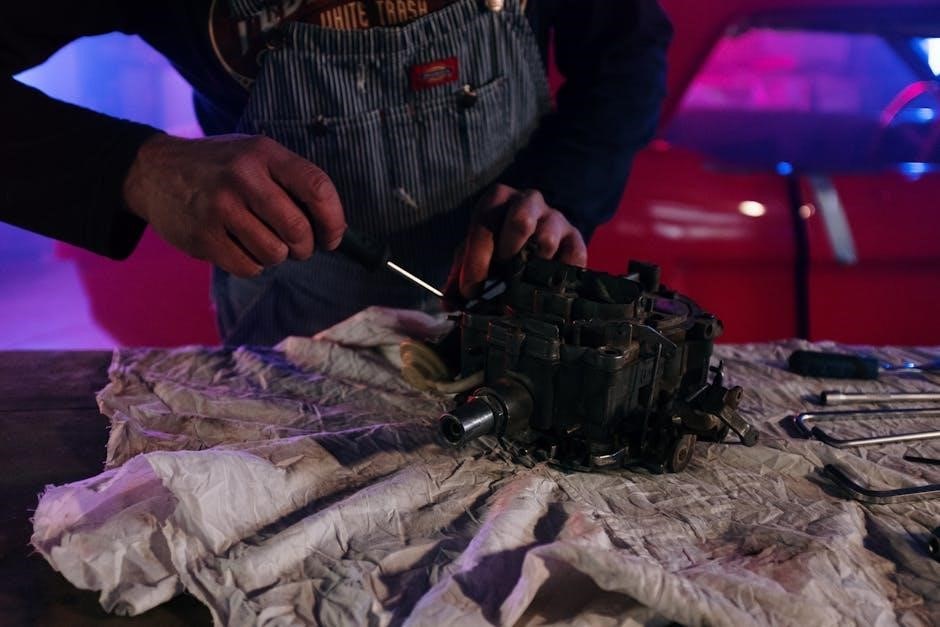
Begin by observing symptoms and checking error codes. Disconnect power and water supply for safety. Inspect hoses, connections, and exterior components for visible damage. Open the washer to examine internal parts like the drum, gasket, and motor. Use diagnostic tools from the repair manual to test electrical components. Check the control panel for faulty buttons or sensors. Run a test cycle to replicate issues. Document findings and refer to the repair manual for specific solutions. This systematic approach ensures accurate identification of problems, guiding effective repairs and minimizing downtime for your General Electric washer.
3.3 Using the Troubleshooting Guide
Start by identifying the specific issue with your GE washer. Locate the error code or symptom in the troubleshooting guide. Follow the step-by-step solutions provided. Apply the recommended fixes, referring to the repair manual for part replacements or adjustments. Test the washer after each repair to ensure the issue is resolved. If problems persist, consult the guide for advanced troubleshooting or contact a professional. Regularly using the troubleshooting guide helps maintain your washer’s efficiency and extends its lifespan. Always prioritize safety and follow the manual’s instructions carefully when performing repairs.

Repairing Major Components
Repairing major components of your GE washer involves addressing critical parts like the tub, drum, or transmission. Always refer to the repair manual for precise instructions and safety guidelines.
4.1 Repairing the Control System
Repairing the control system of your General Electric washer involves diagnosing issues with the electronic controls, such as faulty sensors or a malfunctioning user interface. Common problems include error codes, unresponsive buttons, or incorrect cycle settings. Start by checking connections to ensure all wires are secure. If issues persist, test the control board for defects. Replace damaged components or the entire control board if necessary; Always refer to the repair manual for specific instructions and part numbers. Proper repair ensures precise operation and prevents further damage to the washer. A functioning control system is essential for reliable performance and efficient washing cycles.
4.2 Fixing the Washing Machine Motor
Fixing the motor in your General Electric washer is crucial for restoring its spinning and agitation functions. Common issues include worn bearings, overheating, or failed windings. Start by disconnecting power and accessing the motor, typically located at the base. Inspect for blockages or debris. Check bearings for smooth operation and replace if necessary. If the motor is overheating, ensure proper ventilation and verify thermal sensor functionality. In cases of severe damage, replacing the motor may be required. Always follow safety guidelines and consult the repair manual for specific GE models to ensure accurate and safe repairs. Proper motor function is vital for effective washing performance and longevity of the appliance.
4.3 Replacing the Drain Pump
Replacing the drain pump in your General Electric washer is essential to resolve drainage issues. Start by disconnecting power and water supply lines. Locate the pump, usually at the bottom, and disconnect hoses and electrical connectors. Remove the old pump and install the new one securely. Reconnect all components and test the washer. Regular maintenance, like cleaning filters, can prevent clogs. If the pump is noisy or leaking, immediate replacement is recommended. Always follow the GE repair manual for specific model instructions to ensure a proper fix and maintain your washer’s efficiency and performance over time.
4.4 Addressing Issues with the Water Inlet Valve
Diagnosing and repairing issues with the water inlet valve is crucial for proper water flow in your GE washer. Common problems include clogged screens, faulty solenoids, or mineral buildup. To address these, turn off the water supply and power before inspecting the valve. Clean or replace screens if clogged. If the solenoid is damaged, replace it with a compatible part. For severe mineral buildup, soak the valve in a descaling solution. After repairs, test the washer to ensure water flows correctly. Regularly cleaning the inlet screens can prevent future issues, ensuring efficient washing performance and longevity of the appliance.
Model-Specific Repair Tips
Explore tailored repair strategies for different GE washer models, addressing unique features and common issues specific to each design, ensuring effective and model-appropriate solutions always.
5.1 GE Hydrowave Washer Repair
The GE Hydrowave washer is known for its advanced technology and efficient operation. Common issues include error codes related to the hydraulic system and imbalance detection. Regular maintenance, such as checking and cleaning the drain pump filter, can prevent many problems. When troubleshooting, refer to the error code chart in the repair manual to identify specific faults. For repairs, ensure you have the correct tools, like a Torx screwdriver, and follow the step-by-step instructions provided. Addressing issues promptly can extend the lifespan of your Hydrowave washer and maintain its performance.
5.2 GE Front-Load Washer Repair
GE front-load washers are known for their energy efficiency and advanced features. Common issues include mold buildup, unbalanced loads, and malfunctioning sensors. Regular cleaning of the gasket and drain pump can prevent mold growth. For repairs, consult the manual to identify error codes, which often pinpoint specific problems like faulty sensors or clogged drains. Use tools like a Phillips screwdriver for disassembly. Always unplug the washer before starting repairs to ensure safety. If issues persist, consider consulting a professional. Proper maintenance and timely repairs can extend the lifespan of your GE front-load washer and maintain its optimal performance.
5.3 GE Top-Load Washer Repair
GE top-load washers are durable and user-friendly, but common issues like unbalanced loads, excessive noise, and water leaks may arise. Regularly check and clean the drain pump filter to prevent clogs. For repairs, inspect the tub bearing and gasket for wear, as these often cause leaks. Addressing noise issues may involve tightening loose belts or replacing worn-out components like the transmission or pulley system. Always refer to the repair manual for specific error codes and troubleshooting steps. Use tools like an Allen wrench for disassembly. Ensuring proper balance during installation and operation can prevent many issues. Regular maintenance extends the washer’s lifespan.
Advanced Repair Techniques
Advanced techniques involve replacing the electronic control board, fixing complex mechanical components, and using diagnostic tools like a multimeter for precise troubleshooting and repairs.
6.1 Replacing the Belt and Pulley System
Replacing the belt and pulley system is crucial for restoring your GE washer’s functionality. Start by disconnecting power and water supply. Remove the back panel to access the motor. Take off the old belt and inspect the pulleys for wear. Install the new belt, ensuring it’s properly aligned and tightened. Replace any damaged pulleys to prevent further issues. Reassemble the washer and test it to ensure smooth operation. Regular inspection of these components can prevent unexpected breakdowns and maintain optimal performance.
6.2 Fixing the Transmission and Gears
Fixing the transmission and gears in your GE washer requires careful disassembly. Disconnect power and water supply before starting. Remove the top or back panel to access the internal components. Inspect the transmission for signs of wear or damage, such as cracked gears or stripped teeth. Clean or replace damaged parts, ensuring proper alignment. Lubricate moving parts to reduce friction. Reassemble the washer and test it to confirm smooth operation. Regular maintenance can prevent transmission issues, ensuring your washer runs efficiently for years to come.
6.3 Repairing the Electronic Control Board
Repairing the electronic control board (ECB) of your GE washer involves diagnosing and replacing faulty components. Start by disconnecting power and accessing the ECB, usually located behind the control panel. Inspect for visible damage, such as burned or corroded parts. Use a multimeter to test circuits and identify failed components. Replace faulty resistors, capacitors, or ICs with compatible parts. Ensure proper soldering and reassembly. After repairs, test the washer’s functions to confirm the ECB operates correctly. Regularly updating software and protecting against power surges can prevent future issues.
Maintenance and Prevention
Proper maintenance ensures longevity and efficiency. Regularly clean the interior, check for blockages, and ensure all components function correctly. Refer to your manual for specific guidance.
7.1 Cleaning the Washer Interior
Regular cleaning of the washer interior is essential to prevent mold, mildew, and odors. Run a cleaning cycle with a washer cleaner or hot water. Remove detergent residue, check gasket for debris, and leave the lid open to dry. This maintenance ensures fresh laundry and optimal performance. Always follow the manual’s guidelines for cleaning to avoid damage. Consistent care extends the life of your GE washer and keeps it functioning efficiently, reducing the need for repairs and ensuring reliability over time.
7.2 Balancing the Washer for Optimal Performance
Balancing your General Electric clothes washer is crucial for smooth operation and to prevent damage. Start by ensuring the washer is on a level surface. Use adjustable legs to level it, checking with a spirit level. If the floor is uneven, place shims under the legs on the lower side. Ensure the floor is sturdy to handle the washer’s weight and vibrations. After leveling, run a test cycle to confirm balance. Proper balancing reduces noise, vibrations, and potential damage, ensuring efficient performance. Always refer to the user manual for specific instructions to maintain optimal functionality.
7.3 Checking and Replacing Seals and Gaskets
Regularly inspecting and replacing worn-out seals and gaskets in your General Electric washer is essential to prevent leaks and maintain performance. Check the lid seal, door gasket, and drain pump for signs of wear, cracks, or mold buildup. Replace any damaged components promptly using genuine GE parts for optimal compatibility. Before replacement, ensure the washer is unplugged to avoid electrical hazards. Follow the repair manual’s instructions for proper removal and installation. Cleaning the areas around seals with a soft brush can also improve sealing effectiveness. Regular checks and timely replacements will help extend the lifespan of your washer and prevent costly repairs.
Regular maintenance and timely repairs ensure your GE washer operates efficiently. Always follow safety guidelines and consult the manual for specific instructions. Happy repairing!
8.1 Summary of Key Repair Steps
Always start with diagnostics using error codes and troubleshooting guides. Inspect common issues like faulty drain pumps or worn belts. Use essential tools like multimeters and wrenches for disassembly and testing. Prioritize safety by unplugging the washer and wearing protective gear. Replace damaged seals, gaskets, or the control system as needed. Ensure proper balancing after repairs for stable operation. Refer to the manual for model-specific instructions. If unsure, consult a professional. Regular maintenance, like cleaning interiors and checking hoses, prevents future issues. Keep your GE washer running smoothly with these key repair steps and proactive care.
8.2 When to Call a Professional
If you encounter complex issues like electrical faults, transmission failure, or advanced control board problems, it’s best to call a professional. DIY repairs can be risky without proper expertise, especially when dealing with high-voltage components or delicate mechanisms. If you’re unsure about diagnostics or lack the tools for major repairs, consulting a certified technician ensures safety and quality. Additionally, if your washer is under warranty or requires costly parts, a professional can handle it efficiently. Don’t compromise safety or appliance longevity—seek expert help when needed to avoid further damage or hazards.
8.3 Resources for Further Assistance
For additional support, GE offers official repair manuals and troubleshooting guides on their website. You can also visit authorized service centers or contact customer support for specialized help. Online forums and repair communities often share valuable insights and solutions. Additionally, YouTube tutorials and appliance repair websites provide step-by-step guidance for common issues. If you need detailed technical specifications, the GE Hydrowave Washer Repair Manual is an excellent resource, covering everything from installation to advanced diagnostics. These resources ensure you have access to comprehensive assistance whenever you need it.